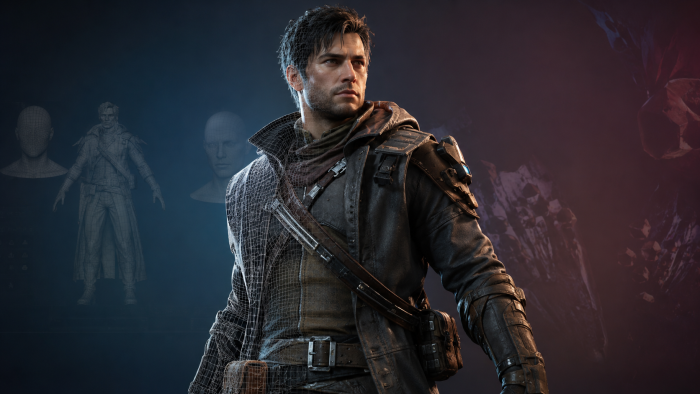
One original character. Three images. Recognisably the same person in all of them. A head and shoulders portrait, a full body reference, and one action pose. That is the smallest project that exercises every hard part of this workflow, because the moment you need the same character twice, most of the popular tools stop being sufficient. If you only ever need one nice picture, you can stop after stage 2 and ignore the rest of this document. Stage 2 is where most needs end, and the tools are very good at it. |
Choosing your lane before you generate anything |
ABOUT 30 MINUTES · DECIDES EVERYTHING DOWNSTREAM
There are two routes through this project and they diverge at the very first decision. Picking the wrong one costs you a weekend.
The hosted route means a subscription, a web page, and generating by typing. It is faster to start and produces better looking images sooner. Its ceiling is character consistency, which becomes the binding constraint from stage 4 onward.
The open route means running models yourself, either on your own graphics card or on rented compute. It is slower to start and initially uglier. It is the only route where stage 4 works properly.
THE RULE THAT DECIDES IT If the character needs to appear in more than roughly ten images, take the open route from the start. Below that, hosted is fine and much less work. Most people take the hosted route, hit the consistency wall around image fifteen, and rebuild anyway. |
What the leaderboards can and cannot tell you here
There is one trustworthy source of quality data in this field. The Artificial Analysis Image Arena shows people two images made from the same prompt without saying which model made either, and asks which is better. Thousands of blind votes become an Elo rating, the same system used in chess. It is public, updates continuously, and you can vote in it yourself.1
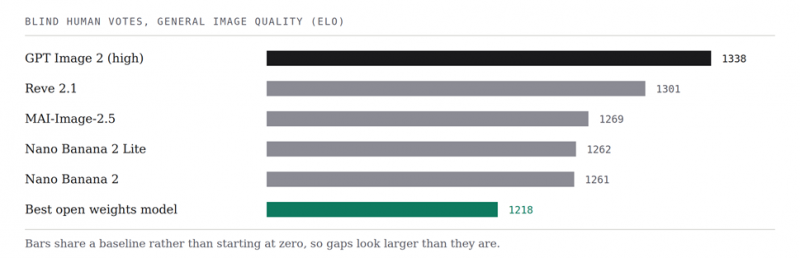
Figure 1. Artificial Analysis Text to Image Arena, July 2026 snapshot. Source [1].
WHY THAT CHART DOES NOT SETTLE YOUR CHOICE Nobody runs a blind arena for anime specifically. That board measures general preference across photorealism, typography and concept art, and general preference leans heavily toward realistic images. A model can top it and still lose to a small anime model at clean cel shaded linework. There is no scoreboard for the thing everyone argues about, which is why every guide names a different winner. |
Exploring the design |
ONE TO TWO HOURS · THE PART EVERYONE OVERESTIMATES
Now you generate. The goal is not a finished image. It is to see thirty variations of your idea quickly, so you can find the one you did not know you wanted. Prompt loosely, generate in batches, and do not fall in love early.
Three tools do this stage well, and they are good at genuinely different things rather than better and worse than one another.
Midjourney, in Niji mode
Hosted · from about $10 a month
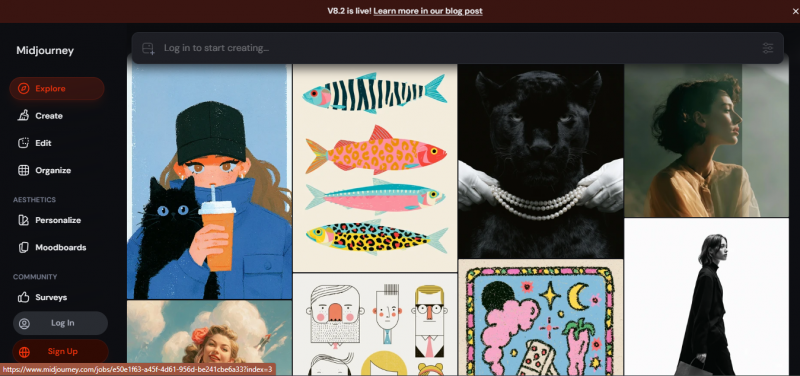
Niji is Midjourney's anime mode, included with any subscription. It makes confident aesthetic decisions for you. Ask for a character on a rooftop at dusk and it picks the camera angle, the lighting and the palette without being told.
The thing to understand is that you're not buying a number of images , you're buying GPU time, and the cheapest plan works out to roughly 200 images a month. Whatever you don't use disappears at the end of the month. Two details matter for the article's brief: keeping your images private is only available on the $60 and $120 plans, but commercial rights come with every tier and stay yours even after you cancel.
NovelAI
Hosted, anime specialist · from about $10 a month
On the two cheaper plans you get enough credits for about 75 images a month. Set that against the article's own estimate of roughly sixty generations to produce three finished pictures and the $10 plan is spent on a single project. The $25 tier is the one that makes sense for real work, because ordinary images stop costing credits entirely there. Worth knowing too: V4.5 has a character reference feature the article doesn't mention, so it's less helpless on consistency than the piece suggests
Where Midjourney leans painterly and cinematic, NovelAI leans traditional cel shading and clean linework, and it handles manga style work well. It is not useful for anything outside anime.
Illustrious XL and Pony Diffusion
Open models · free, needs a GPU or rented compute
The two anime models the open community actually uses. They are files you run rather than services you log into, so they need a workflow tool such as ComfyUI to be useful at all.
Illustrious gives cleaner linework and more natural proportions, and is the current default for modern anime styling. Pony has a more distinctive look, stronger control over pose and clothing, and by far the deepest library of community add-ons, though it uses its own tag syntax.
Both are less impressive than Midjourney out of the box and match it once configured. They are also the only option here that will do stage 4.
What good exploration looks like
• Generate in batches of four or more, never one at a time.
• Keep prompts short at this stage. Over specifying narrows the search before you know what you want.
• Save everything you half like, including near misses. You will want them as references in stage 4.
• Stop when you have three or four candidates you would be happy to build on.
Locking one design and cleaning it up |
ABOUT AN HOUR · WHERE THE PROJECT BECOMES REAL
Pick one, then fix everything wrong with it. This single image becomes the specification for every image that follows, so a flaw you tolerate here gets baked into the character permanently.
Look specifically at things that must stay constant: hair parting, eye colour, the exact design of any accessory, how a collar sits. AI generated images are full of details that look fine in isolation and turn out to be incoherent when you reproduce them from another angle.
Inpainting
Included in every serious tool
Masking part of an image and regenerating only that part. It is the most useful capability in this whole workflow and the one beginners find last. Mask the hand, regenerate the hand. Mask an eye, regenerate the eye.
Learn this before anything else. It turns a 70 percent image into a usable one, and the alternative is generating another hundred and hoping.
WHAT YOU SHOULD HAVE AT THE END OF STAGE 3 One clean image of your character that you are genuinely happy with, with no anatomical errors and no incoherent details. This is your reference. Everything downstream is an attempt to reproduce this person in other situations. |
Making the character repeatable |
TWO TO FOUR HOURS, ONCE · THE STAGE THAT SEPARATES A HOBBY FROM A PROJECT
This is the wall. Ask any generator for the same character description twenty times and you get twenty different people. For a wallpaper that is irrelevant. For our brief, where the same person must appear in three images, it is the entire problem.
There are three ways to solve it and they are not equivalent.
| Describe it every time | Drifts on every generation. Constant retries and no way to converge. |
| Reference image feature | Holds for a handful of images. The face wanders once you pass roughly a dozen. |
| Trained character add-on | Holds across hundreds. Costs one afternoon to set up, then never again. |
ComfyUI
Workflow tool, open · free
The program you run open models inside. Instead of a prompt box you build a diagram: a node for the model, one for the prompt, one for the pose reference, one for the output. It is genuinely steep on day one.
What you get for that is a saved pipeline. Once your character workflow exists as a diagram, producing image forty is the same three clicks as image four with every setting identical. No hosted tool offers this.
A trained character add-on
Technique · free, or a few dollars of rented compute
You take fifteen to thirty images of your locked design, from different angles and poses, and use them to train a small file that teaches the model your specific character. It then plugs into Illustrious or Pony.
The awkward part is producing those training images, since you need angles you have not generated yet. Once it is done it is permanent, and reusable on future projects.
Hosted platforms with character features
Hosted, freemium · free tiers, paid from roughly $10 a month
Several platforms run open anime models for you and add character consistency tools on top, so you get most of the benefit without the setup and without needing hardware.
The tradeoff is someone else's implementation of the technique. It works well for a dozen images and drifts beyond that, and free tiers almost always forbid commercial use.
Posing and composing the three images |
ABOUT TWO HOURS · NOW IT GOES QUICKLY
With a character that holds, the remaining problem is control. Describing a pose in words is unreliable, especially for the action shot in our brief, where limb positions matter and the model will happily invent an extra arm.
Pose and structure control
Technique, open route · free
Instead of describing a pose you give the model a diagram of one: a stick figure skeleton, a depth map, or the edges of a reference image. Your character is then generated in that exact configuration rather than guessed at.
This is the difference between asking for a dynamic action pose and specifying where the arms go. For the third image in our brief it is the difference between usable and not.
EXPECT THIS RATIO Even with everything set up correctly, plan on generating between ten and thirty candidates for each final image. That is normal. The three finished pieces in our brief come out of roughly sixty generations. |
Fixing hands, eyes and linework |
ONE TO THREE HOURS · THE UNGLAMOROUS MAJORITY OF THE WORK
Every candidate will have something wrong. Hands remain the most common failure, followed by eye asymmetry, then details that dissolve when you look closely, such as jewellery, buckles and text on clothing.
You already met the fix in stage 3. Mask the broken region, regenerate only that region, repeat until it is right. What changes here is volume: you are doing it to three images repeatedly rather than one image once.
The order that saves time
• Fix structure before detail. A hand in the wrong position cannot be rescued by regenerating fingers.
• Work at the largest resolution your setup handles comfortably, because small regions regenerate better with more pixels around them.
• Fix faces last. They are the most sensitive to change and you do not want to redo them after altering something else.
• Know when to stop and draw over it by hand. Ten minutes with a brush often beats forty more generations.
THE HONEST EXPECTATION Nothing in this workflow produces finished art from a prompt. Generation gets you to roughly 80%, and this stage plus the next covers the remaining 20% that separates something impressive in a thumbnail from something that survives being looked at properly. |
Finishing in normal illustration software |
ONE TO TWO HOURS · WHERE THE AI STOPS AND YOU START
The last stretch happens in ordinary art software, not a generator. Colour correction across the three images so they look like a set, small hand drawn corrections, backgro
Clip Studio Paint, Photoshop or Krita
Illustration software · Krita free, the others paid
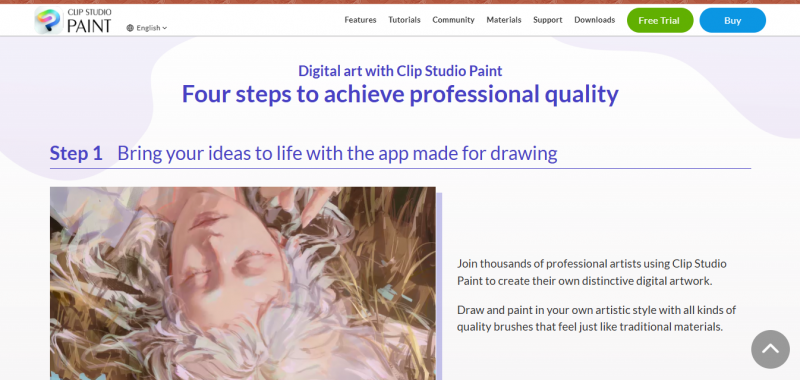
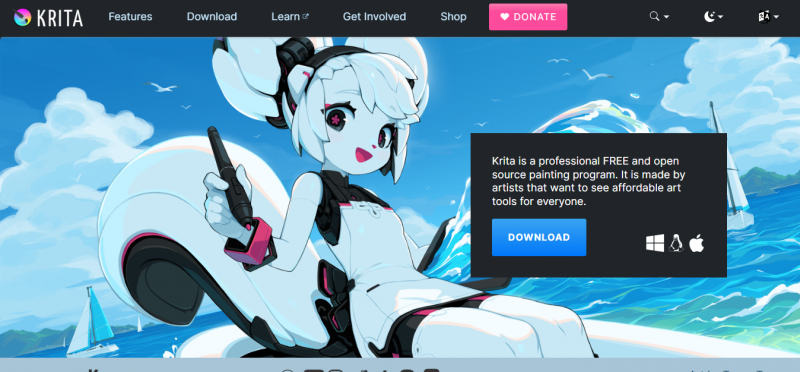
Clip Studio Paint is the default in comics and anime illustration, with tooling built for linework, screentones and panelling. Photoshop is the general standard. Krita is free and entirely adequate for this stage.
Any of them does what stage 7 needs, so pick whichever you already know. This stage is about your hands rather than the software.
A USEFUL SIDE EFFECT Substantial human editing at this stage does more than improve the images. It strengthens your position on ownership, because your own creative contribution can be protectable even where the generated base is not. That matters in the next stage. |
Clearing it for the use you have in mind |
ABOUT 30 MINUTES · SKIPPED BY ALMOST EVERYONE
You have three finished images. Whether you can use them depends on two separate questions that get merged constantly, including by tool marketing.
Does the tool let you use the image commercially? That is contract, set by the platform’s terms. Most paid plans say yes. Most free tiers say no, which catches people out regularly.
Do you own copyright in the result? That is law, not contract. Guidance in the United States holds that material generated by AI without meaningful human authorship is not protected by copyright.2 A platform can grant you the right to use an image and still not hand you exclusive ownership, because it never had that to give.
WHAT THAT MEANS IN PRACTICE You may be free to sell an image while being unable to stop someone else using the same one. For a social post or a personal project that rarely matters. For a logo, a book cover, a mascot or anything a client expects to own outright, it matters enormously. |
Adobe Firefly
Hosted, licensed training data · bundled with Creative Cloud plans
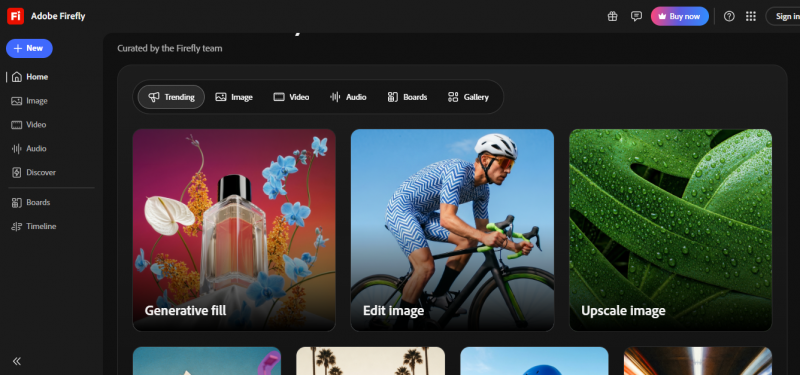
Firefly belongs here rather than in stage 2 because it is not competing on image quality. Adobe trained it on licensed stock and public domain content so it could make promises about provenance, and it offers contractual indemnity on paid plans, with carve-outs including free tier and beta outputs.
Its anime output is clearly the weakest in this article. For client work where someone will ask about rights, that often does not matter.
Reducing your own exposure
• Do not prompt for living artists by name. Some tools block it outright. Beyond the ethics, it is the clearest way to make your output look like deliberate copying if anyone ever asks.
• Do not prompt for protected characters or studio properties in anything commercial. Fan art for yourself is a different situation from a client deliverable.
• Keep your prompts and generation history. Documentation of your process is what supports a claim of human authorship later.
• Check the licence of every community add-on you used. They are not uniform and some explicitly forbid commercial output.
Where the work can be published
Separate from your licence, several marketplaces, commission platforms and art communities restrict or ban AI generated work outright, and some clients ask directly. Disclosure is expected in illustration more than in other design fields. Check the rules of the specific place this is going before you finish it, because that constraint is set by the venue and no tool choice changes it.
VERDICTThe tool that makes the prettiest first image is rarely the tool that finishes the project. Follow the eight stages and the pattern is hard to miss. Midjourney wins stage 2 outright and cannot do stage 4. Firefly cannot do stages 2 through 5 and is the only sensible answer in stage 8. The open models are mediocre at stage 2 and are the only route through stages 4 and 5. Nothing here is good at all of it, which is why every guide on this subject names a different winner while appearing to answer the same question. The expensive mistake is choosing on the strength of stage 2, because that is the stage every tool is marketed on and the one where the differences are most visible and least consequential. Then you reach stage 4, discover the character will not hold, and rebuild. |
| THE KIT FOR THE BRIEF ON PAGE ONE |
| 01 Illustrious XL or Pony Diffusion, running in ComfyUI, as the base. |
| 02 A character add-on trained on your locked design from stage 3. |
| 03 Pose control for the action shot, so limbs go where you put them. |
| 04 Inpainting throughout, which is the most useful thing in the whole workflow. |
| 05 Clip Studio Paint, Photoshop or Krita to finish, which is not optional. |
| 06 Adobe Firefly instead of all of the above, if this is client work and rights matter more than the anime looking right. |
THE ONE TEST WORTH RUNNING BEFORE YOU COMMIT Generate your character four times from the same prompt and look at how much the face changes between them. Two minutes, free on any trial, and it predicts whether a tool survives contact with a real project better than any leaderboard, any review, and considerably better than this document. |
Post Comment
Share your thoughts about this article.
Be the first to post a comment!